Image Map
Showing posts with label numbers. Show all posts

Wednesday, March 23, 2016

Spring Book Review: A Nest in Springtime

Spring is finally upon us, and I could not be more excited to see the tips of daffodils and tulips poking through the dirt in my garden. 
To celebrate spring's arrival and the conclusion of our number study in my beginning Mandarin class, I shared the bilingual children's book, A Nest in Springtime: A Bilingual Book of Numbers by Belle Yang (Candlewick Press, 2012).
Although written for a younger audience, my 1st-3rd graders enjoyed hearing me read the endearing story, first in Mandarin and then translating to English words they had not studied yet. They participated by reading all the numbers in the story (in Mandarin, or course=).  


A great book for beginning Mandarin students and their families: It's not easy to find a Mandarin language children's book that beginning language students can read. 
  • A Nest in Springtime is great for kids who are learning to read Chinese characters, especially those who are familiar with the characters for numbers 1-8. They will be able to read 3-4 pages of the book!
  • The story is simple with a limited vocab (it's a board book). English translations are shared on opposite pages, and pinyin pronunciation for the Chinese characters in the story is provided on the last page. This option is great for people like me who aren't super at reading traditional characters (繁體字) or who are new to learning Chinese.  
  • Beautiful jewel-toned illustrations. These make story a joy to read!


To learn how to count from 1-10 in Mandarin, check out this great video put together by Daily Noodles: 


To practice writing your numbers 1-10 in Chinese characters, check out my post: Back-to-school Printable: How to write Numbers 1-10 in Chinese characters


 How will you be celebrating the arrival of spring? 

post signature

Friday, November 14, 2014

Color-by-number Chinese Characters: Free Printable & DIY


Earlier this fall, I searched for some pre-writing activities that could reinforce the Chinese characters I was introducing in an after school class I was teaching at my kids' school.

When I couldn't find exactly what I was looking for, I adapted an old standard: 


I discovered that the color-by-number idea works pretty well with beginning Chinese characters. And even better: it was accessible to the little ones in my class who were just getting used to writing with a pencil.

Click here to download the snazzy color-by-number printable above. I've numbered each stroke of the character (4, sì), so each stroke should end up a different beautiful color.


*****************************************************************************


If you want to make your own color-by-number Chinese character, here are 2 ways you can do this:


The first way is what I call the Easy Peasy Draw Your Own method.It's just as it sounds: Hand-draw your own color-by-number character. This is doable, even if you are just beginning to learn Mandarin. 

  1. Go to the dictionary at yellowbridge.com. You can input your word in English, Chinese characters, or pinyin. Then, after you've found the character you're looking for, click on "stroke order" to see how to write the character. 
  2. Write the character in outline form. 
  3. Section off the strokes, and number the sections.
  4. Write in your number/color designations (i.e. 1=yellow).
And Done!


************************************************************************


If you want a little more technical finesse in your final product...Turn it into WordArt!


1.  Using your Chinese input on your computer, type your character in a new Word document. 

-->If you do not have Chinese input, you can type the pinyin into Google Translate, copy the Chinese character from Google Translate, and paste it into a Word document.

-->If you want to get fancy, choose a different Mandarin font for the characters. I used Hannotate TC Regular because it looks like handwriting.

2.  Highlight the character you just typed or pasted in the Word document. Select "WordArt" under the Insert menu. You should now see the Chinese character that you typed in outline form.

-->This may look different on your computer depending on if you're using Mac/Windows and how recent your operating system is. Check out this link from Microsoft support to walk you through inserting WordArt in a Word document.

3.  Adjust the style of your WordArt according to your preferences in the WordArt/Formatting toolbar. Again, the location of this toolbar will be different depending on your computer. Refer to the Microsoft Support page if you get stuck. 

4. Adjust the size of the new WordArt according to your preferences. I resized mine to 400 pt. You may have to expand the size of the text box to accommodate the bigger size. 

5.  Now you have a choice to A. save, print, and then hand draw all the little dividing lines in to make it a color-by-number, or B. save as a PDF and upload to PicMonkey where you can do this on your computer.

-->If you choose Option A, well done! Enjoy your new, snazzy Chinese character outline.

-->If you choose Option B, very nice! Please read on for further instructions. 

6. The next step is to convert your PDF to jpg. There are lots of free PDF to jpg converters online. I'm not an expert here, but take a look. 

7. Once you have converted and saved the WordArt character you created as a jpg, go to Picmonkey.com, choose "edit" and upload the jpg. 

-->If you're not familiar with PicMonkey, it's awesome!!! It's a online photo editing tool. I use their free tools, but you can also pay a fee to access more tools (they're not paying me for this promo--I just really love the website=)

8. After you have uploaded your jpg, choose the tool on the left side of your screen that looks like a tube of lipstick and scroll down the list of tools until you see "draw"(under "Artsy").

9. Adjust the brush size and color according to preference, and then draw in any dividing lines (to separate strokes).
10. Next, click on "T" (for add text) and click on the "add text" button. When the text box appears, choose a font and type in the numbers that will dictate which color to use when your little ones color in. Position and resize as you see fit.

-->You will have to add a new text box for each number. 

10. Once you are finished, save to your computer.
And Done! You now have a nifty color-by-number Chinese character image that you can use in any document, using "insert picture." 


What pre-writing activities do you use in your home to teach Mandarin?

post signature

Tuesday, August 26, 2014

Back-To-School Printable:

How to Write Numbers 1-10 in Chinese Characters

If you're just joining me here at Monkeys & Mooncakes, Welcome! I'm so glad you're here. Click here to read a little about this blog, or continue reading this post for a great back-to-school printable. 

It's hard to believe that we are already in Week 2 of Back to School! While the big kids are in class (and the little one is napping), I've been working on curriculum for a K-2 Level 1 Mandarin class I'll be teaching later this fall. 

This week I combed the web for character practice printables that showed both stroke order and direction. I was totally surprised when I couldn't find anything that fit the bill, except of course, for some websites that offered printables that I could download for a hefty yearly membership fee--Yikes! The cheapskate in me was not ready for this.  

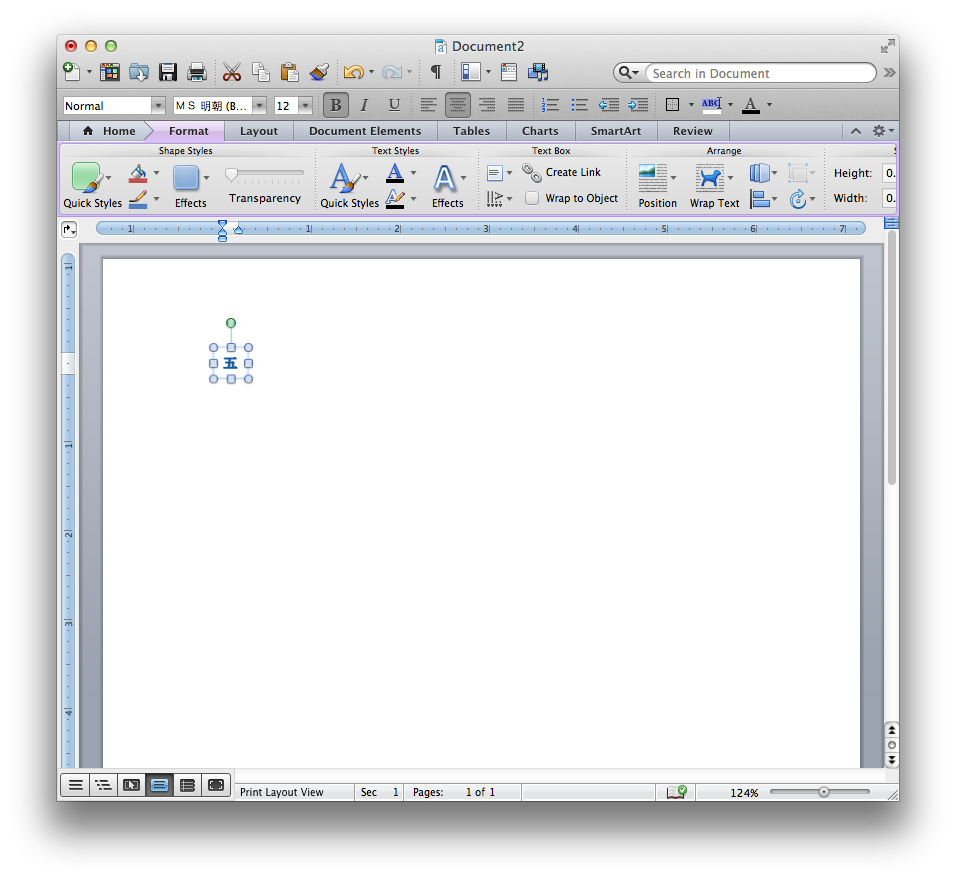
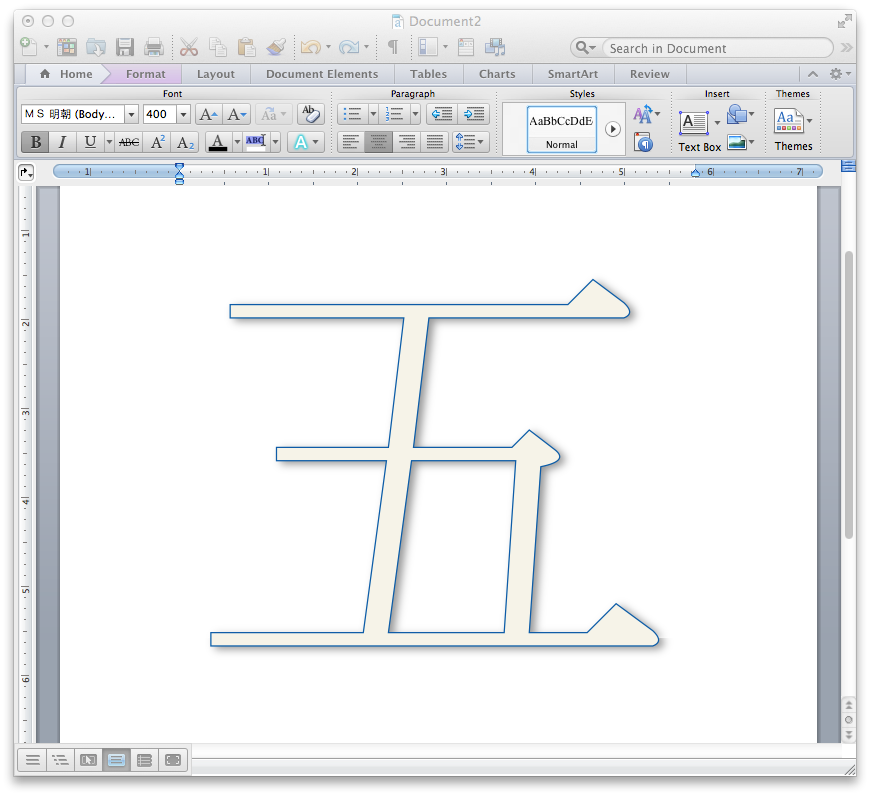
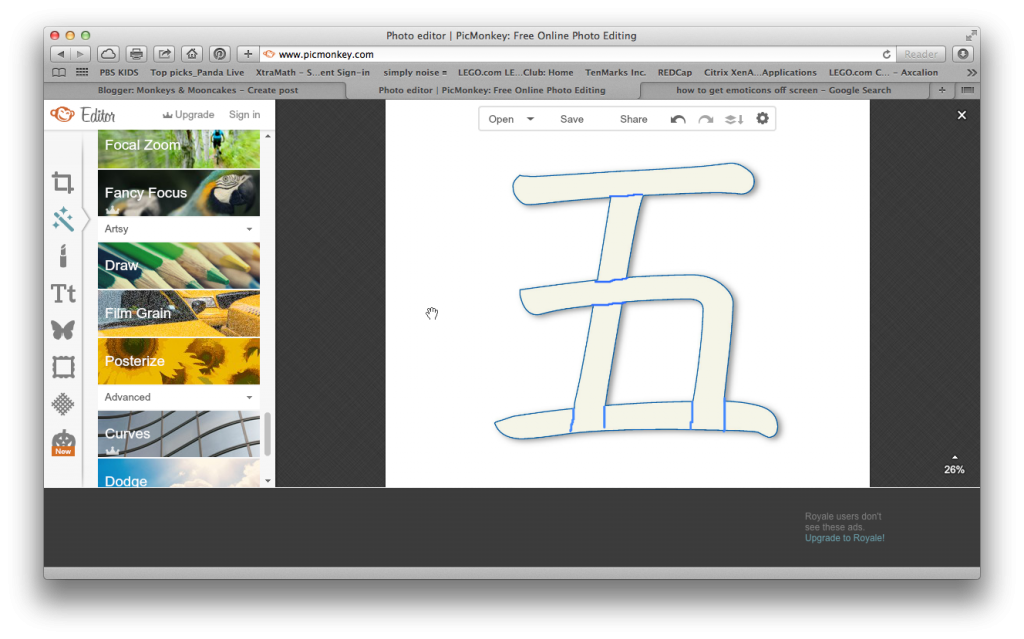
So, I decided to use my new-found love of Picmonkey and make them myself. And because I want other people to have access to this resource, I am sharing them with you!

Click here to download. 
FAQ
What's included in the printable? 
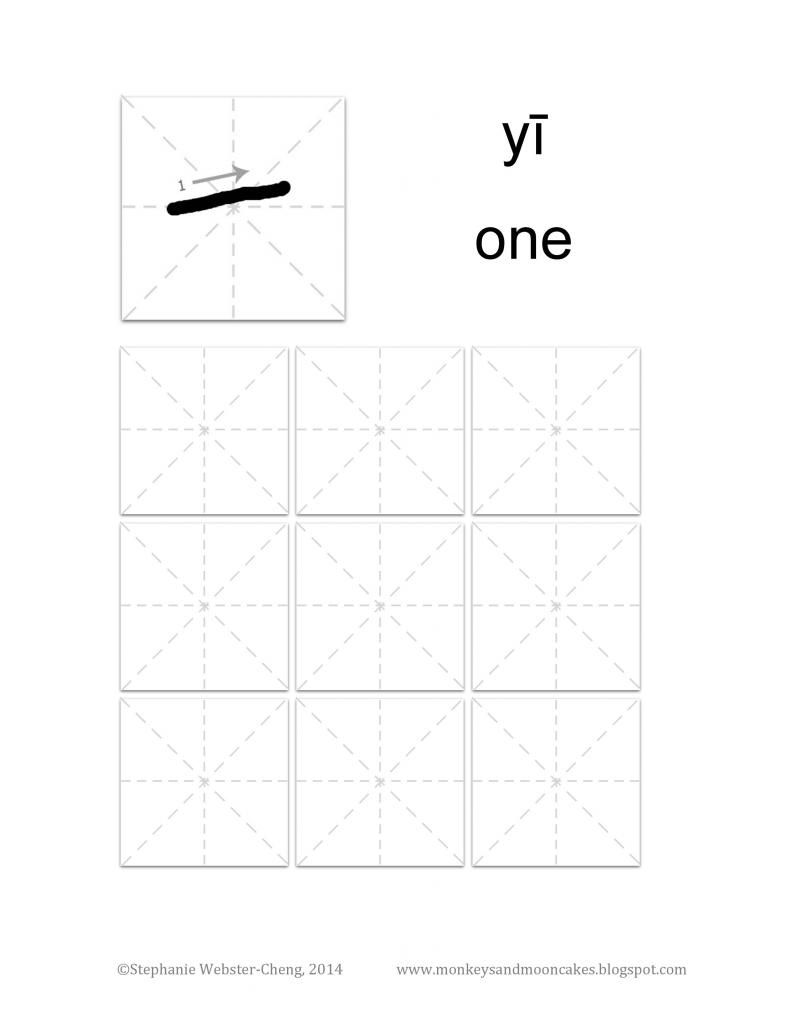
  • 1 practice sheet for each number 1-10.
  • Stroke order and direction of the stroke is shown for each character.
  • Guide lines are shown to give student a general sense of where to place each stroke.
Why numbers 1-10? 
  • With 5 or fewer strokes, these characters are great for beginners. 

Why don't the characters look like Chinese calligraphy?
  • This printable is not intended for calligraphy practice. I decided to show Chinese characters as if written with a pencil or marker (like your kiddo or student will be using).  
Why is stroke order and direction important?
  • Some people don't think that stroke important is important, as long as you are able to write the character. While this is a valid point, I think that having a standard way of writing each character helps with muscle memory. 
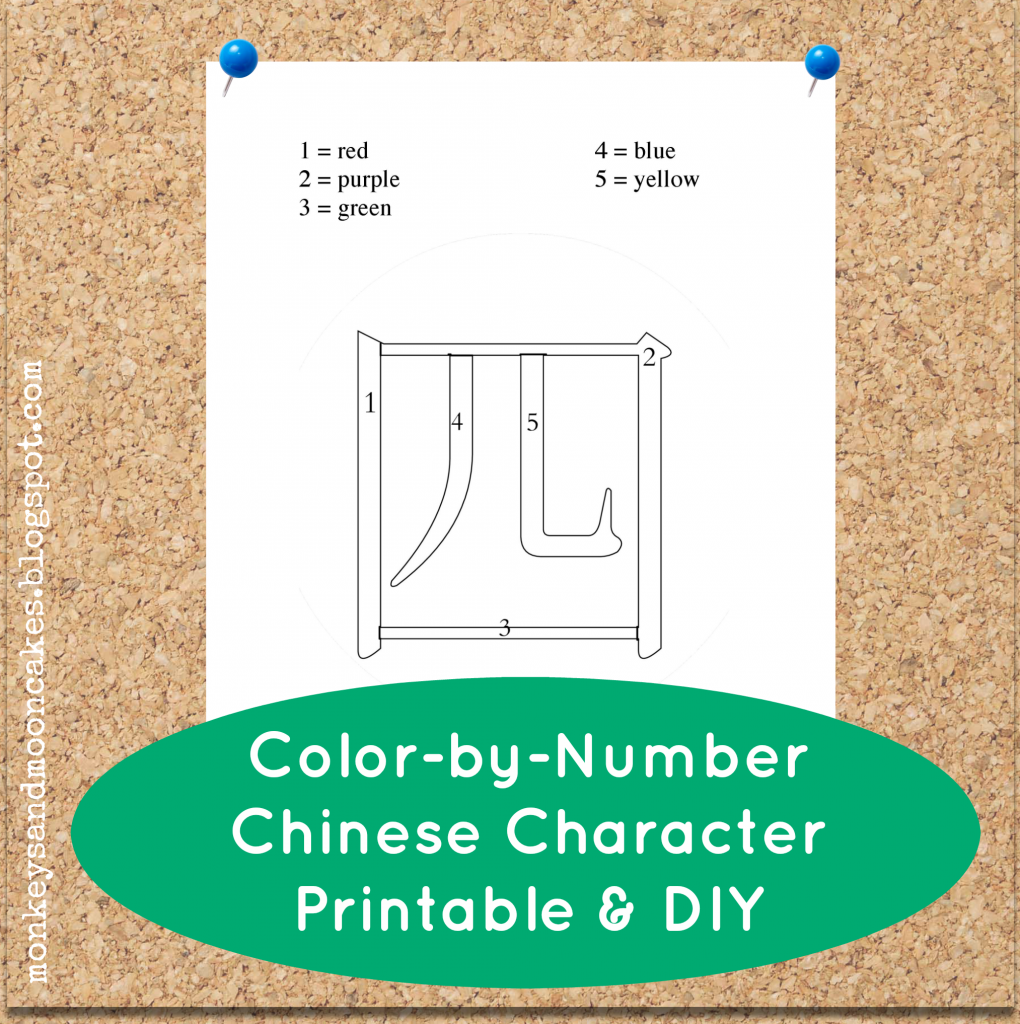
Why are they only black and white? Where's the pizazz?
  • I did this so they would be easy (and inexpensive) to print. 

What do you think about this printable? Will you use it in your home or classroom?
post signature